Understanding Finish Trim and Its Role in Interior Design
Finish trim plays a pivotal role in elevating the aesthetic appeal of interior spaces, providing the final touches that seamlessly blend form and function. From framing doorways and windows to accenting baseboards and crown mouldings, finish trim adds visual interest, enhances architectural details, and reflects the homeowner’s style. Proper selection, installation, and finishing of trim are crucial for achieving a professional, polished look that complements your overall design vision.
Whether you’re undertaking a complete home renovation or simply updating your interiors, understanding the nuances of finish trim is essential. Not only does it affect the visual harmony of a room, but the right choices in materials and techniques can also impact durability and maintenance. For a comprehensive guide on how to master finish trim from start to finish, explore this Finish trim and elevate your interior design projects.
What Is Finish Trim and Why It Matters
Finish trim refers to the decorative mouldings and woodwork applied at the final stages of interior finishing. Its primary purpose is to hide imperfections where different surfaces meet—such as walls and floors or walls and ceilings—while also providing an aesthetic enhancement. Finish trim includes baseboards, crown mouldings, casings around doors and windows, chair rails, and other decorative mouldings.
Beyond aesthetics, finish trim serves practical functions: protecting walls from damage, covering gaps or uneven cuts, and framing architectural features to create a cohesive look. It adds character and dimension to rooms, making spaces feel complete and professionally finished. Properly installed and finished trim can significantly increase a home’s visual appeal, which can influence property value and homeowner satisfaction. As the interior design landscape evolves, finish trim continues to be a versatile element, adapting to various styles from traditional to modern.
Common Types of Finish Trim and Styles
Choosing the right type of finish trim involves understanding the myriad styles and materials available. Each style contributes uniquely to interior aesthetics and functional needs. Here are the most common types:
- Baseboards: Located at the intersection of walls and floors, baseboards serve both as a protective barrier and a design feature. Styles range from simple, flat mouldings to elaborate, sculpted profiles.
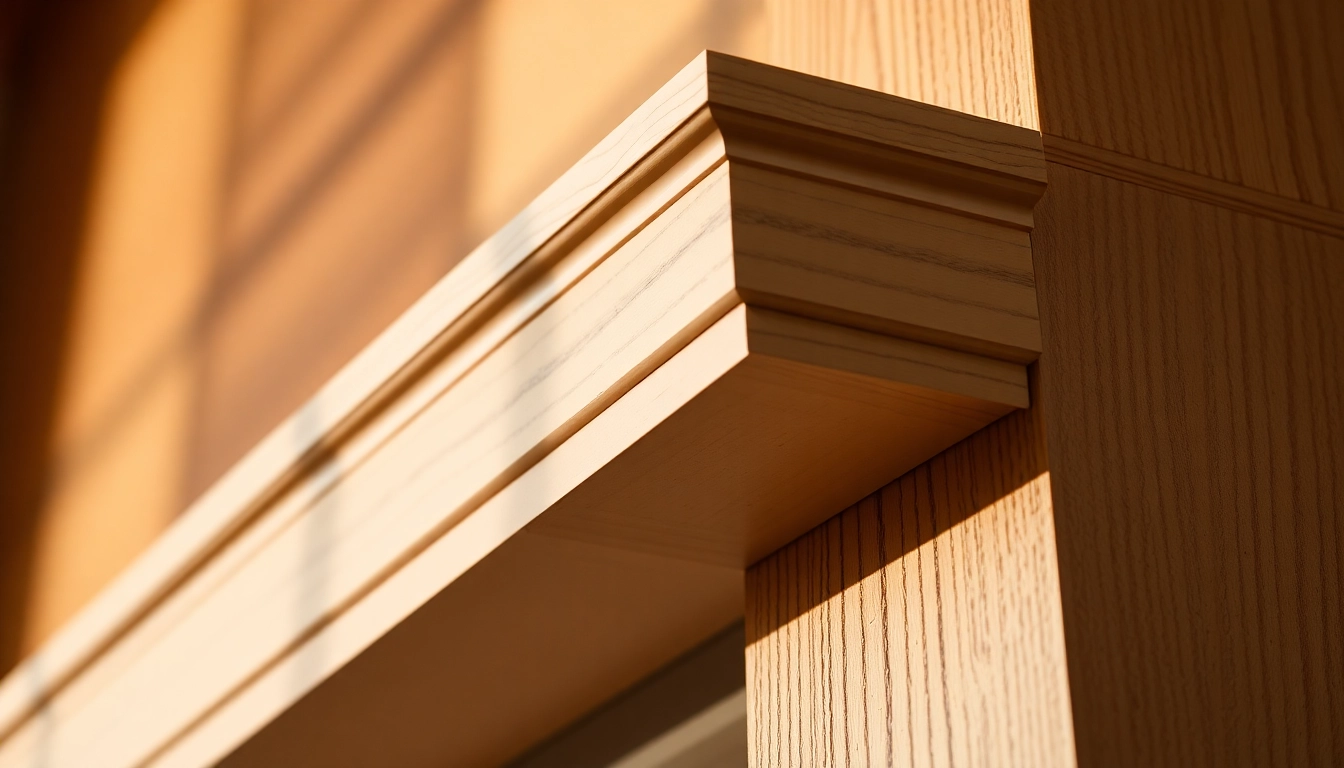
- Crown Moulding: Installed at the transition between walls and ceilings, crown moulding adds elegance and a sense of height. Popular styles include dentil, egg-and-dart, and modern clean lines.
- Door and Window Casings: These mouldings frame openings, enhancing architectural detailing. Their style can vary from minimalistic to ornate, depending on overall decor.
- Chair Rails: Positioned horizontally on walls, chair rails protect walls from furniture damage and create opportunities for decorative painting or wallpaper pairing.
- Picture Rails and Mouldings: These are optional decorative features that add historical or stylistic accents in various interiors.
Styles of finish trim have evolved over time, from traditional ornate profiles to sleek, minimalist designs for contemporary spaces. For example, modern interiors favor clean lines with simple profiles, while traditional homes might incorporate intricate carvings and elaborate designs. Selecting a style that complements your overall decor theme ensures cohesiveness and visual harmony.
Key Materials Used in Finish Trim Applications
The durability, appearance, and ease of installation of finish trim largely depend on the materials chosen. Common options include:
- Wood: The most traditional material, offering warmth and versatility. Types such as pine, oak, maple, and poplar are popular for their workability and aesthetic qualities. High-end finishes often prefer hardwoods like oak or cherry for their richness.
- MDF (Medium Density Fiberboard): An affordable and stable composite material that is easy to shape and paint. Ideal for painted finishes and intricate profiles, but less resistant to moisture and physical damage.
- PVC and Vinyl: These synthetic options are resistant to moisture and pests, making them suitable for bathrooms and humid areas. Available in various styles, often mimicking wood grain.
- Polyurethane/Resin Mouldings: Lightweight, highly customizable, and resistant to cracking, these materials are used for intricate or ornate trim styles.
Choosing the right material depends on your project’s functional needs, budget, aesthetic preferences, and installation environment. For example, hardwoods are preferred in high-end finishes, while MDF is suitable for painted areas with less exposure to moisture.
Step-by-Step Guide to Installing and Finishing Trim
Preparation and Measurement Best Practices
Accurate measurement and preparation are foundational to professional-looking finish trim installation. Begin by carefully measuring the length of each wall where trim will be applied. Use a tape measure, and note down precise dimensions, accounting for door and window openings, corners, and any irregularities.
Next, determine the type of trim profiles needed for each area, choosing styles that match your design aesthetic. Mark cut lines on your material before cutting, and double-check measurements to prevent costly mistakes.
Consider using a detailed layout plan or sketches to visualize the final look. Using laser measures or digital tools can improve accuracy, particularly in irregular spaces. Planning also involves considering the installation sequence—start with larger or foundational pieces, like baseboards, before moving to more complex mouldings like crown or intricate profiles.
Cutting and Fitting Techniques for Precise Results
Proper cutting is essential for tight joints and seamless finishes. Miter cuts are standard for corners—typically at 45 degrees—to allow for clean, angled joins. Use a high-quality miter saw for accuracy, and always measure twice before cutting.
For longer runs, consider scarf joints or butt joints, reinforced with adhesive or nails. When fitting trim, do so in a dry run first to check fit and make adjustments as needed. Use shims, if necessary, to ensure level and plumb installation.
In irregular or curved surfaces, adaptive techniques like sanding or gentle bending can improve fit. For complex cuts or bespoke profiles, you may need to use routing or templates to achieve desired contours.
Painting and Finishing Touches for a Flawless Look
Finishing involves preparing the trim surface for painting or staining, ensuring smoothness and uniformity. Start by sanding the trimmed edges with fine-grit sandpaper—generally 220 grit—to eliminate splinters or rough spots.
If painting, applying primer improves adhesion and provides a uniform base. Use high-quality latex or oil-based paints with appropriate sheens—matte, eggshell, satin, semi-gloss, or gloss—depending on the room’s function and aesthetic preference.
Multiple coats may be necessary for a rich, even finish. Consider using a high-quality brush, roller, or spray system for achieving a smooth application. For stained or natural wood finish, apply finishing oils or sealers to enhance grain and protect against wear. Final touches include caulking gaps and installing nails or screws recessed with wood filler for an uninterrupted surface.
Expert Tips for a High-Quality Finish
Choosing the Right Paint and Sheen for Trim
The choice of paint and sheen significantly impacts durability and aesthetic. Experts often recommend using a semi-gloss or satin finish on trim and mouldings because these sheens are easier to clean, resist staining, and reflect light effectively, accentuating the details.
For a more subtle look, eggshell or matte sheens can be used in less-worn areas. When selecting colors, popular options include white for a classic look, but bold or contrasting colors can create dramatic effects. Ensure the paint is formulated for interior trim applications, emphasizing durability and smooth finish.
Sanding and Smoothing for a Seamless Finish
Sanding is crucial to achieve a professional appearance. After the first coat of paint, lightly sand with fine-grit paper to remove drips, brush marks, or imperfections. Remove dust thoroughly before applying additional coats.
Use a sanding block or pad for flat surfaces, and consider finger or detail sanding for intricate profiles. Wet sanding can be useful in delicate areas for a smooth, mirror-like finish. Proper finishing sanding ensures the final surface is free of rough edges, uneven coloration, or visible joins.
Common Mistakes to Avoid During Finishing
Some pitfalls compromise the quality of finish trim. Over-priming or over-sanding can damage the surface; use gentle, controlled techniques. Skipping primer on raw wood can lead to uneven paint adhesion or blotchiness.
Inconsistent paint application, such as uneven coats or poor brush technique, results in visible brush marks or streaks. Rushing the drying process or applying coats in humid conditions can cause bubbling, peeling, or delayed curing. Being meticulous in preparation and taking your time with each step ensures a flawless result.
Design Inspiration and Style Ideas
Modern Vs. Traditional Finish Trim Styles
Designing your home with finish trim requires aligning with your overall aesthetic. Modern interiors favor minimalistic profiles—flat or simple mouldings with clean lines, often painted in monochrome shades or contrasting colors. Square-edged baseboards and sleek crown mouldings exemplify contemporary styles.
Traditional styles, however, embrace ornate profiles featuring intricate carvings, layered mouldings, and decorative corner blocks. Rich materials like mahogany or cherry, coupled with elaborate detailing, evoke a sense of timeless elegance.
Creative Uses of Finish Trim in Various Rooms
Finish trim can be creatively integrated into different interiors. For example, installing wide crown mouldings in living rooms creates a sense of grandeur, while matching baseboards and window casings in a neutral palette produces a cohesive look.
In bathrooms, moisture-resistant trim profiles add durability, while in kitchens, decorative chair rails can introduce color or pattern. Using contrasting trim colors or profiles in different rooms can break monotony and introduce visual interest.
Matching Finish Trim with Decor and Color Schemes
Harmonizing trim with decor involves choosing profiles, materials, and finishes that complement your furniture, wall colors, and accessories. For a cohesive look, match the trim color to the base wall color or opt for contrasting hues to highlight architectural features. For example, white trim against a deep navy wall creates a crisp, modern aesthetic, while stained wood trim enhances rustic or country-style interiors.
Maintaining and Repairing Finish Trim Over Time
Cleaning and Routine Maintenance Tips
Maintaining finish trim involves regular dusting and cleaning with gentle, non-abrasive cleaners. Use a soft cloth or vacuum with a brush attachment to remove accumulated dust. For painted trim, avoid harsh chemicals that can degrade the paint. A damp cloth with mild soap often suffices for routine cleaning.
Spot Repairs for Scratches and Damage
Minor scratches or chips can be repaired with touch-up paint or stain, matched to the existing finish. For wood trim, lightly sanding the area followed by staining or sealing restores a seamless appearance. In cases of larger damage, consider replacing affected sections for a more durable solution.
When to Replace or Refinish Old Trim
Over time, finish trim can become worn, warped, or damaged beyond simple repairs. Signs include peeling paint, deep gouges, or structural instability. When repairs are no longer effective or cost-prohibitive, replacing old trim with new profiles or refinishing existing mouldings through stripping, sanding, and repainting can revitalize the space. Regular inspections help identify issues early, prolonging the lifespan of your interior details.